Adapting to the new normal has been a long and challenging path, some of us are still making changes or are just about to begin, regardless, we have a few tips to help you perfect your setup!
There’s no need to spend a lot on expensive setups, instead there are clever ways to produce low cost setups.

Some things you may need:
- Laptop
- Camara
- Speaker
- Microphone
- Online meeting provider
First and foremost, make sure to have a solid connection. This is by far the most important step. If there are other devices connected make sure they are not using too much bandwidth, so no Netflix or Youtube while you’re streaming your classes!
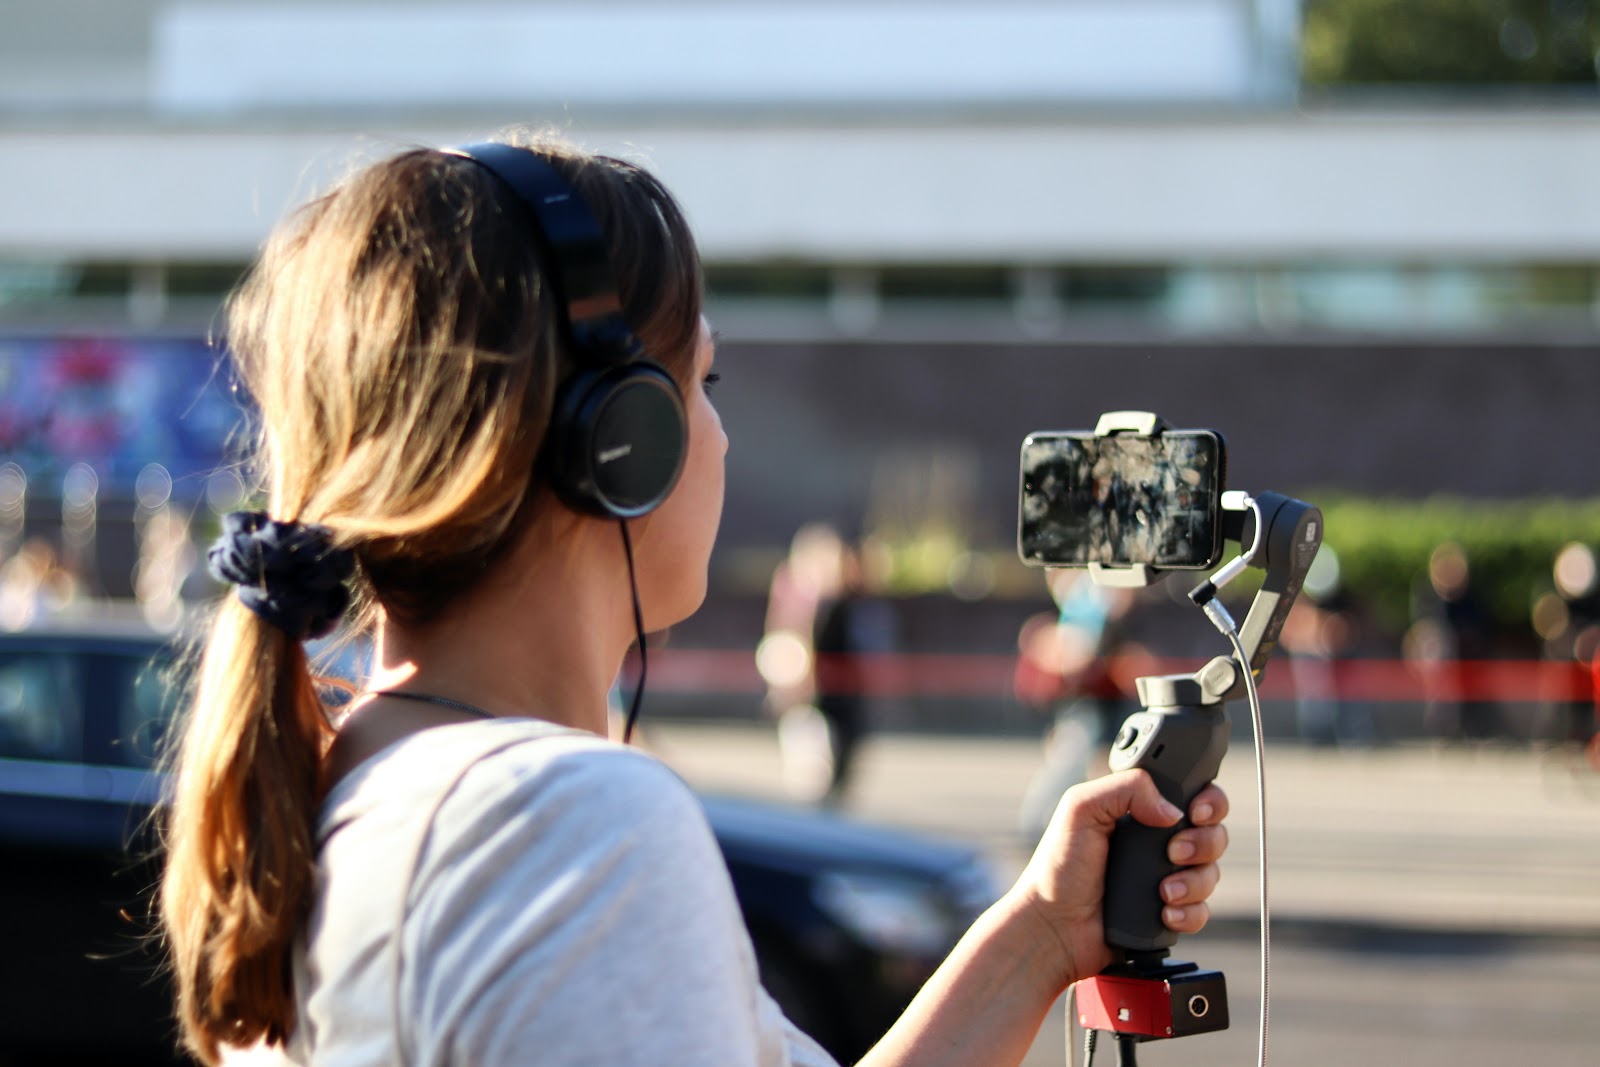
Any camera will do the trick, but the better the camera the better the video quality. For the most part, people use their phones.
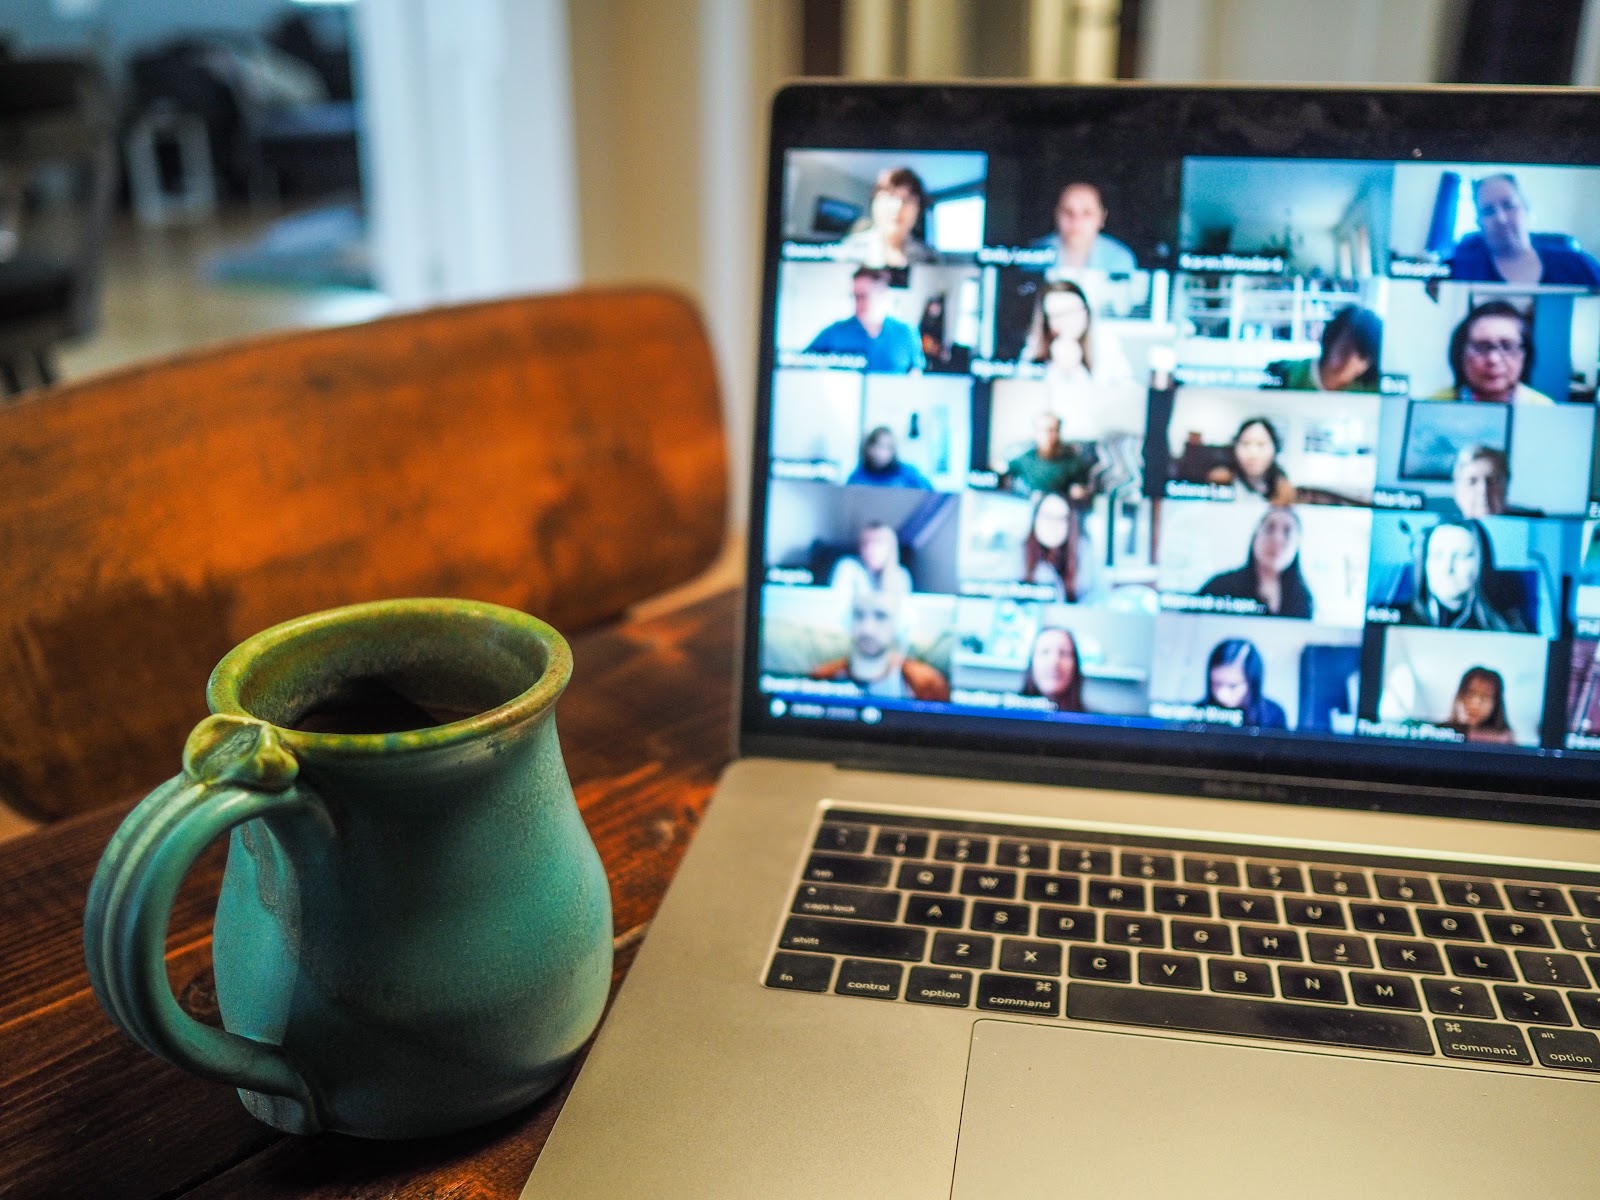
As for online meeting providers, the most popular options are Zoom, Google Meet and Microsoft Teams. Zoom has quickly become the standard streaming provider for the fitness industry and there are good reasons for that. At Fitune over 90% of our partners use Zoom as their preferred streaming service.
Once you have the equipment and have chosen a meeting provider, it’s time to set everything up.
The Actual Setup
You should have a dedicated area with enough space and good lighting. Make sure the room has decent acoustics, so a SMALL ROOM with low ceilings will do the trick. Furthermore, soft materials such as curtains and carpets can help to reduce echo.
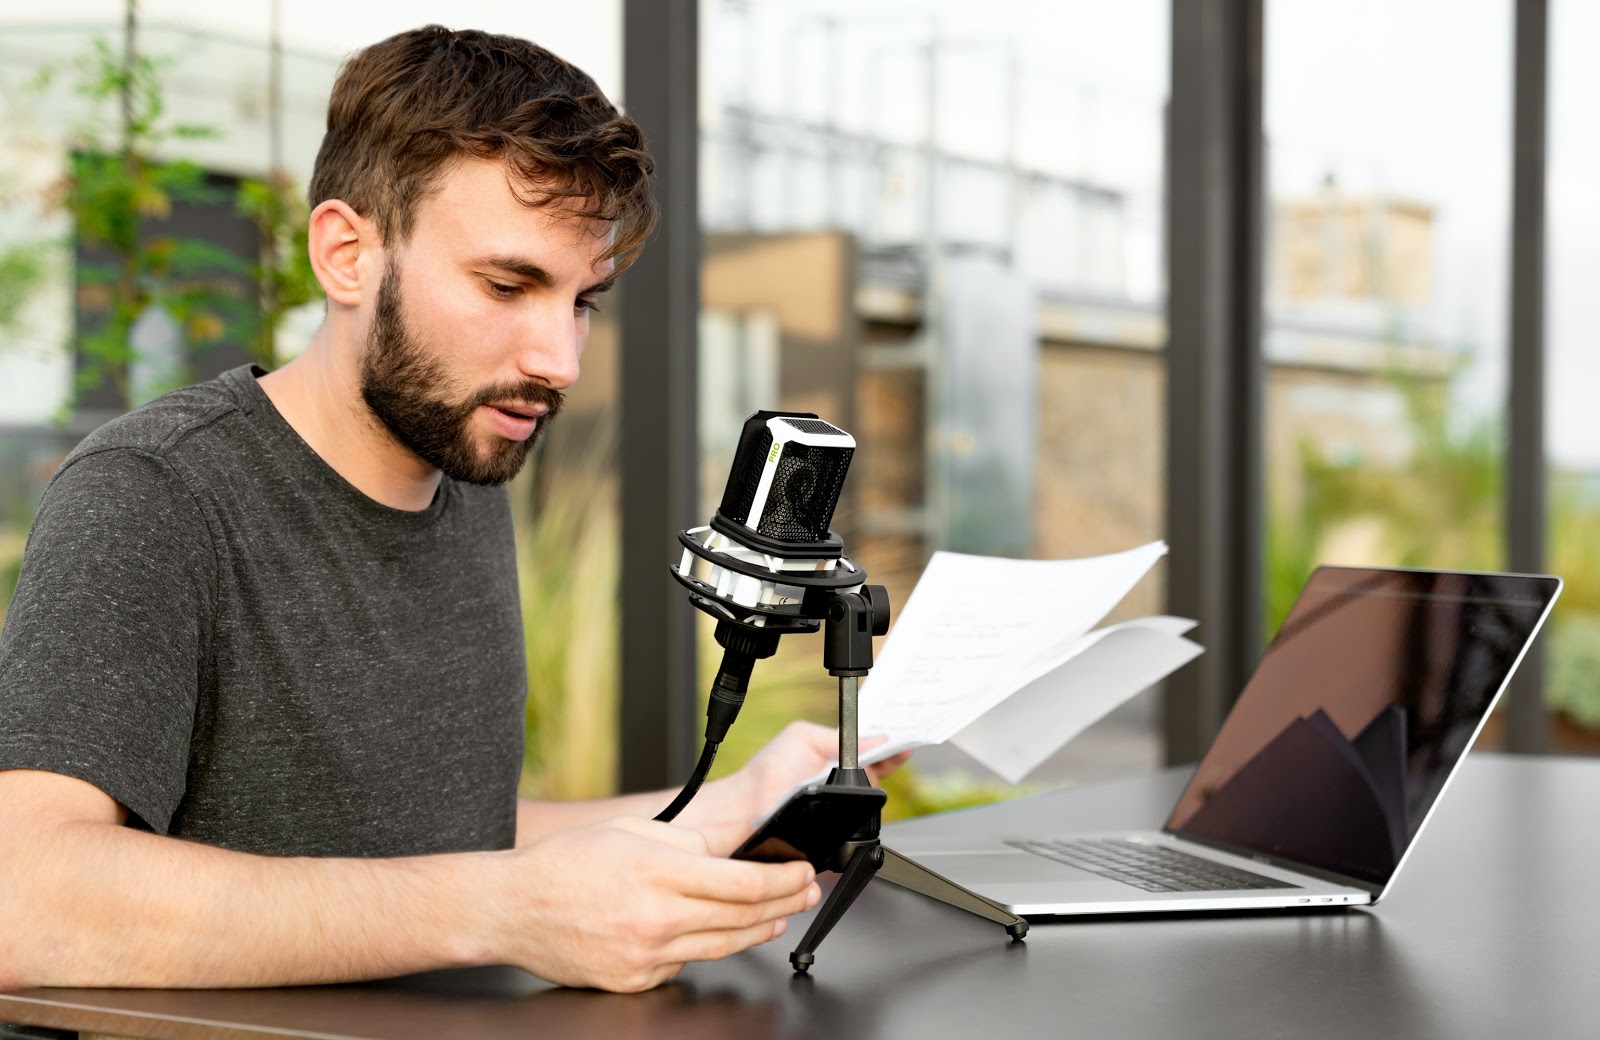
Once your place is ready, mount your phone or camera on a tripod or on a chair with books –to act like a DIY tripod, as long as the phone is steady you’re good to go.
This way you can offer a full frame and eliminate any possible camera movements, resulting in a better experience for your clients. Testing the position of the camera is VITAL here.
Select your camera
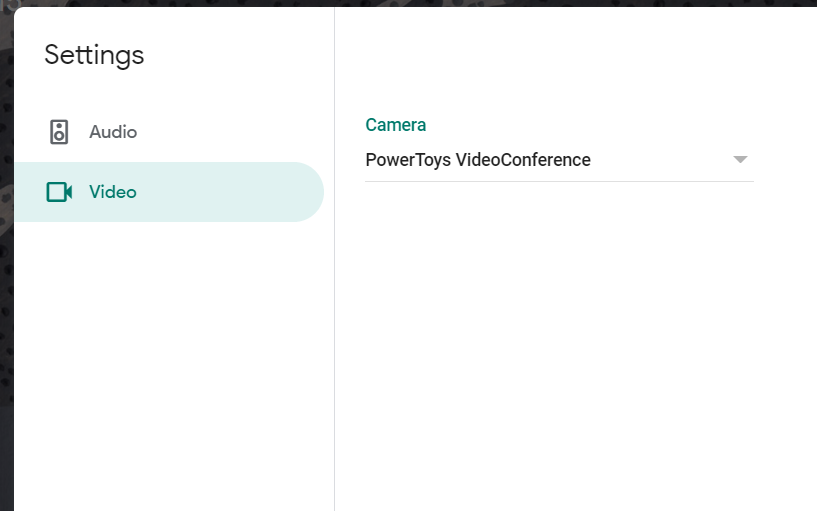
After the camera is mounted, connect it to your microphone and make sure your internet connection is good. Then check that your online meeting provider recognizes it. For example, on Zoom you will have to go to Settings and then video, there you can select the right camera.
Now choose your desired audio quality
As for the audio, you can select your preferred option by going to Settings and then Audio. Make sure to change your settings before starting the meeting. Try it with a friend or family member, just to double check the sound quality.
If the right option is not selected, you can change it from there. You can also test both the speaker and microphone to make sure that everyone will be able to hear you.

Taking the livestream to your clients
How do you get to your clients? How do you handle everything and get paid for it?
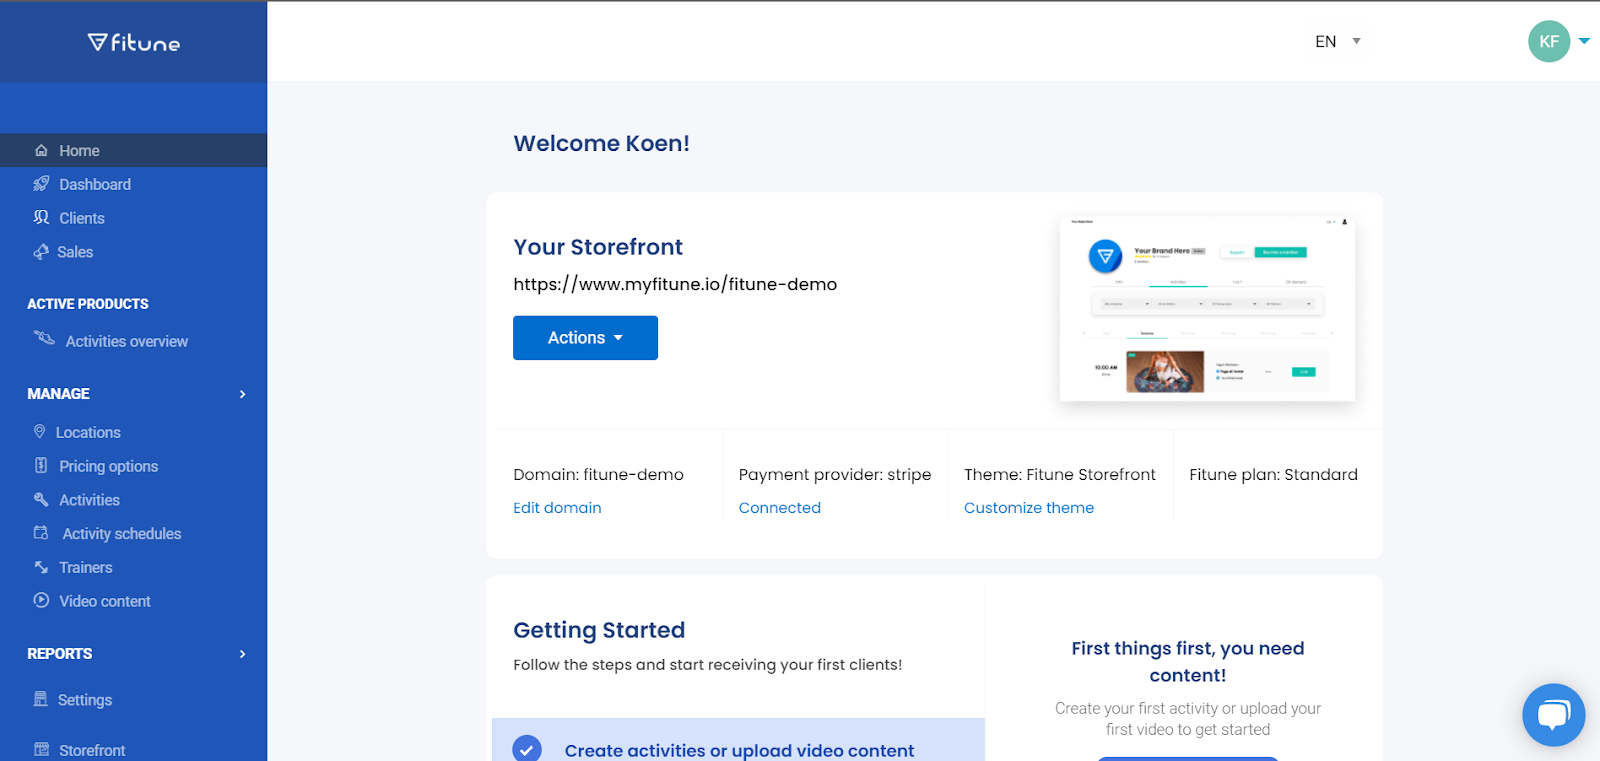
That’s where Fitune comes in handy. You upload your schedule, set up your pricing options and invite your clients all in one very easy to use platform. Fitune will make sure your attendees receive the email with the link to the activity so you can focus your energy on growing your business.
Lastly, we recommend doing some testing before going live, just so you are 100 % sure everything is up and running as it should.
You could invite some friends or relatives to a small activity. We know jumping into something new can be scary, but it’s important to adapt and capitalize on all the tools available to help you.
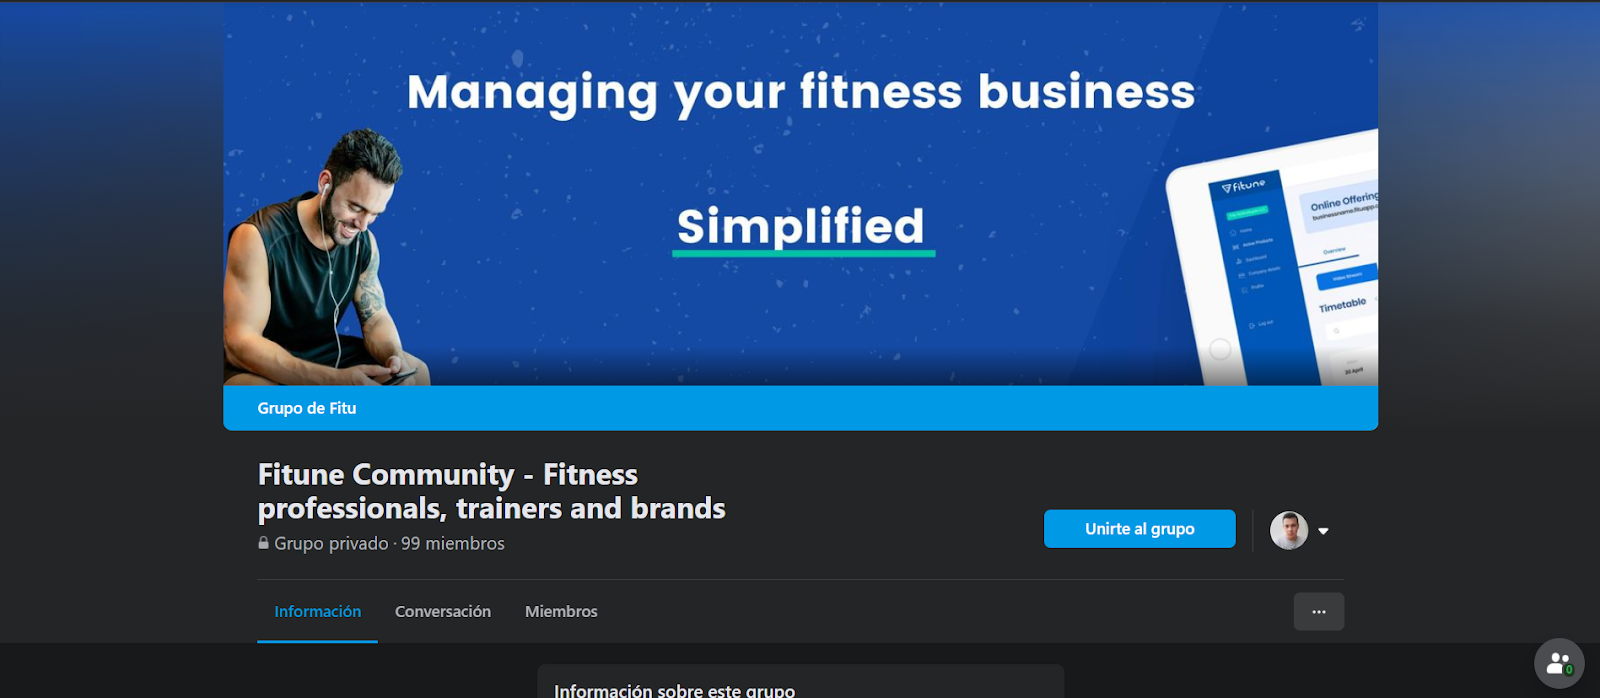
There are a lot of online communities out there with people just like you so you should consider joining one, like ours here.
Tools like an AI Image Generator can also help enhance your visuals and make your content stand out even more.


-min.jpg)


